10 Bedazzled Bottle DIYs That’ll Make Your Home Sparkle Like Never Before!
Bedazzled Bottle DIYs
Ever looked at an empty bottle and thought, “This could be so much prettier?” Well, you’re not alone! Bedazzled bottle DIYs are a fantastic way to upcycle glass bottles and transform them into dazzling home decor. Whether you want a touch of glam, a bit of whimsy, or full-on sparkle overload, I’ve got the perfect DIY ideas for you.
So grab your glue gun, unleash your inner craft queen (or king), and let’s make some bottles that’ll have your home shimmering like never before!
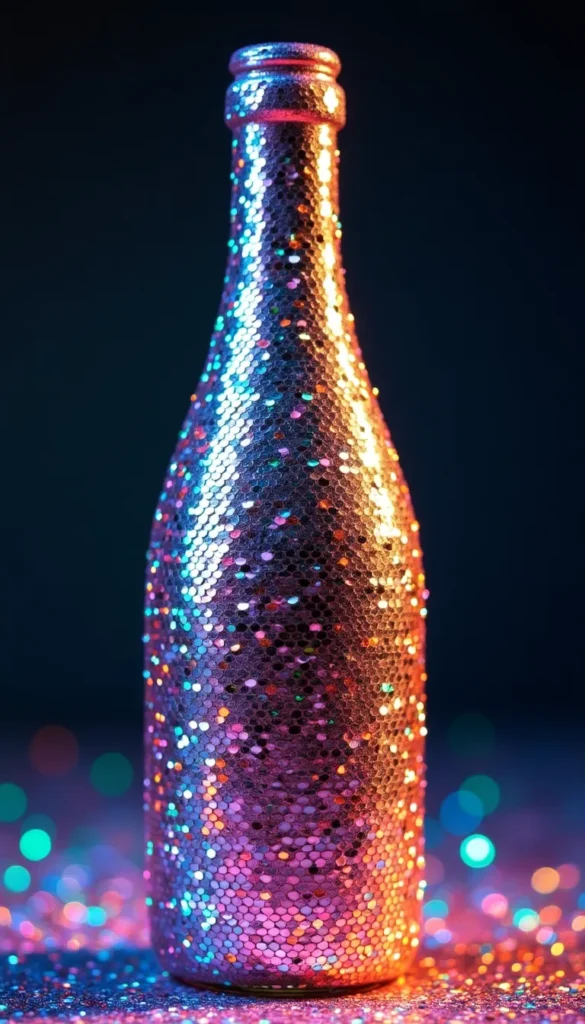
1. Glitter-Dipped Elegance ✨
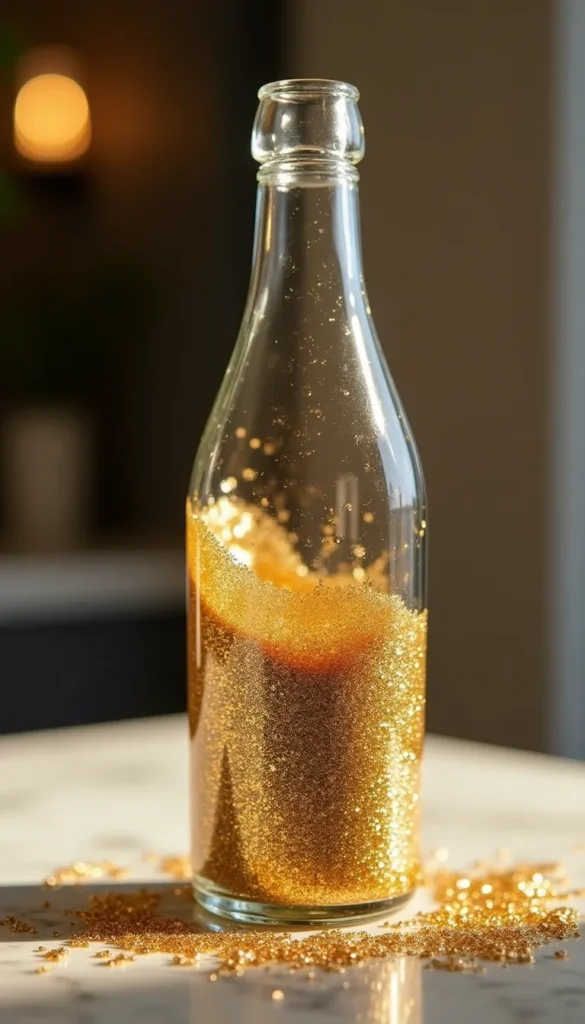
A little glitter never hurt anybody—unless you spill it everywhere, then it’s game over forever.
This DIY is as simple as it is stunning. Just dip the bottom of a bottle in glue, coat it with fine glitter, and boom—instant elegance! Want to level up? Use metallic gold or rose gold glitter for a more luxurious look.
What You’ll Need:
✔ Glass bottle
✔ Mod Podge or craft glue
✔ Fine glitter (gold, silver, or any color you love)
✔ Soft brush for application
Instructions:
1️⃣ Clean the bottle – Wash and dry the glass bottle thoroughly.
2️⃣ Apply glue – Use a brush to coat the bottom half of the bottle with Mod Podge.
3️⃣ Add glitter – Hold the bottle over a paper plate and sprinkle glitter generously over the glued area.
4️⃣ Tap off excess – Gently shake off extra glitter.
5️⃣ Let it dry – Leave the bottle undisturbed for at least 2 hours.
6️⃣ Seal it – Apply another layer of Mod Podge over the glitter to prevent fallout.
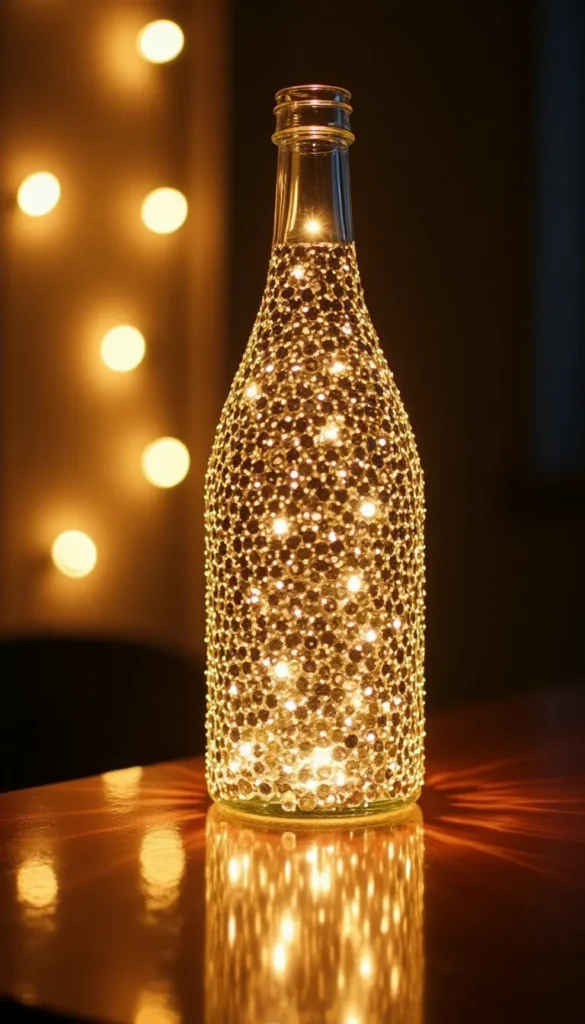
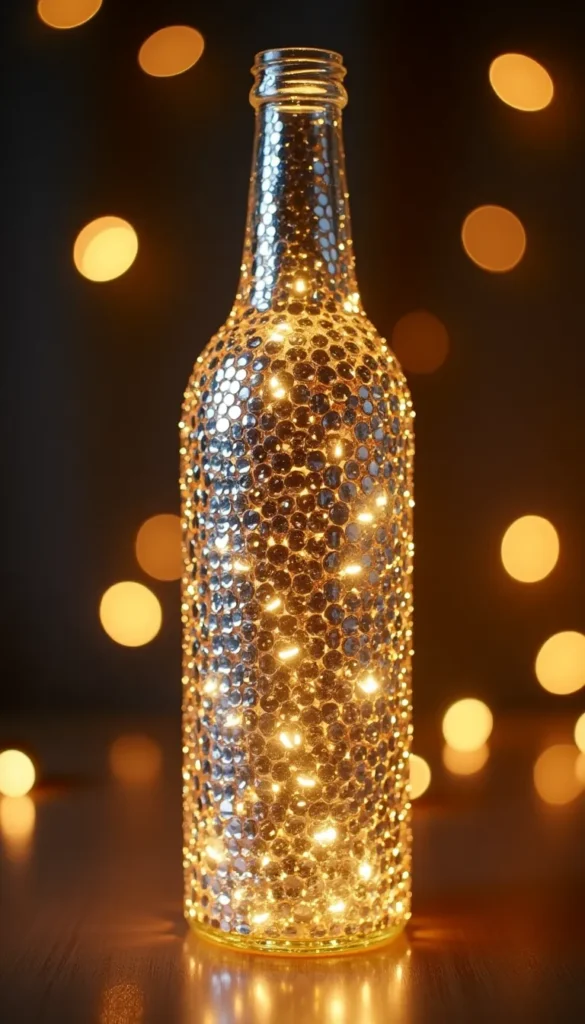
2. Crystal-Encrusted Glam 💎
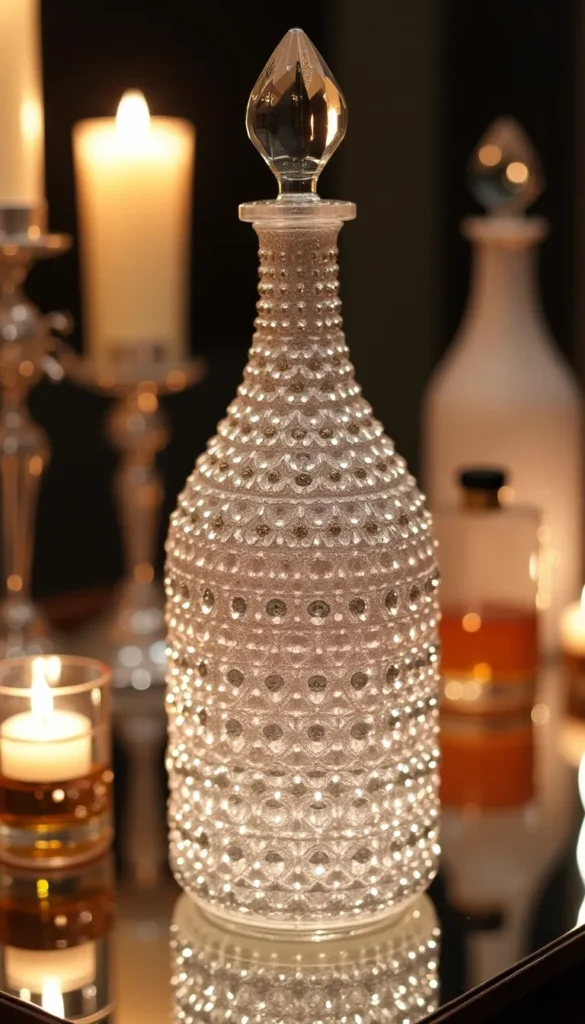
Because who doesn’t love a little extra sparkle in their life?
This project turns a plain bottle into a glamorous, crystal-studded statement piece—perfect for wedding decor or a chic vanity.
What You’ll Need:
✔ Glass bottle
✔ Rhinestones or flat-back crystals
✔ Strong adhesive (E6000 works best!)
✔ Tweezers for precise placement
Instructions:
1️⃣ Plan your design – Lay out your crystals in a pattern before gluing them.
2️⃣ Apply adhesive – Use a small dot of glue on the back of each crystal.
3️⃣ Stick them on – Use tweezers to place crystals onto the bottle.
4️⃣ Let it dry – Wait 24 hours for a secure bond.
3. Ombre Glitter Magic 🌈
Gradient, but make it sparkle.
This technique blends two or more glitter colors for a seamless ombre transition—pure magic!
What You’ll Need:
✔ Glass bottle
✔ Multiple glitter colors
✔ Mod Podge or craft glue
✔ Sponge for blending
Instructions:
1️⃣ Paint glue on the bottom – Start with one color and apply a generous layer of glitter.
2️⃣ Blend upwards – Use a sponge to lightly tap glue onto the middle section and add a second glitter color.
3️⃣ Fade effect – Repeat with a third color (if desired) at the top.
4️⃣ Seal with Mod Podge – Let dry, then apply a thin topcoat to prevent glitter fallout.
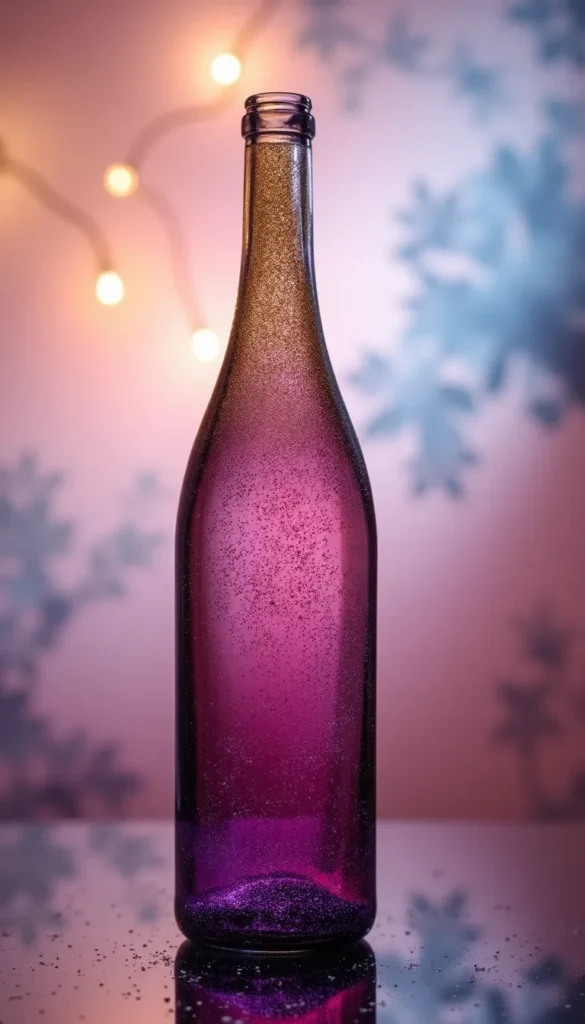
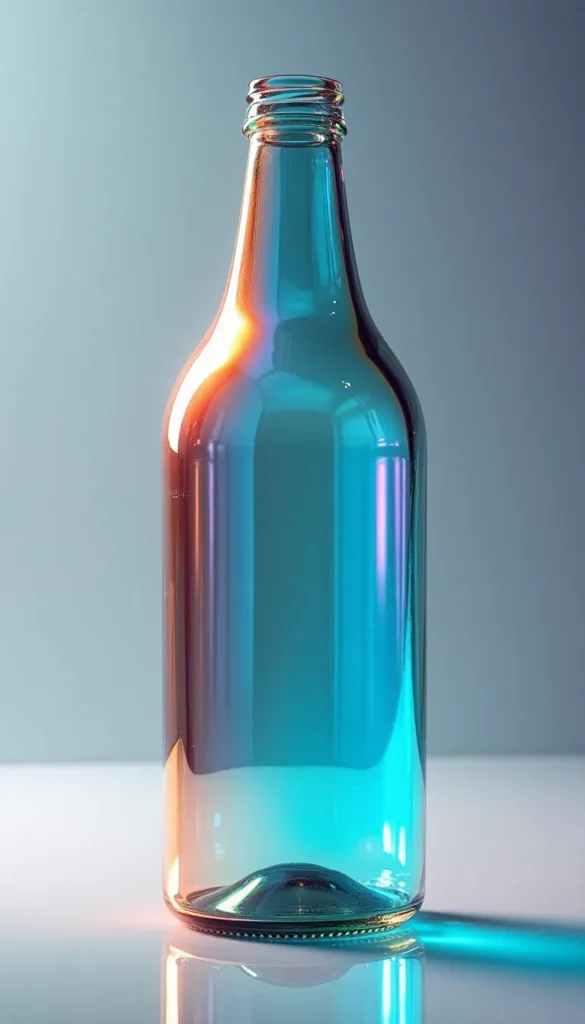
4. Galaxy-Inspired Bottles 🌌
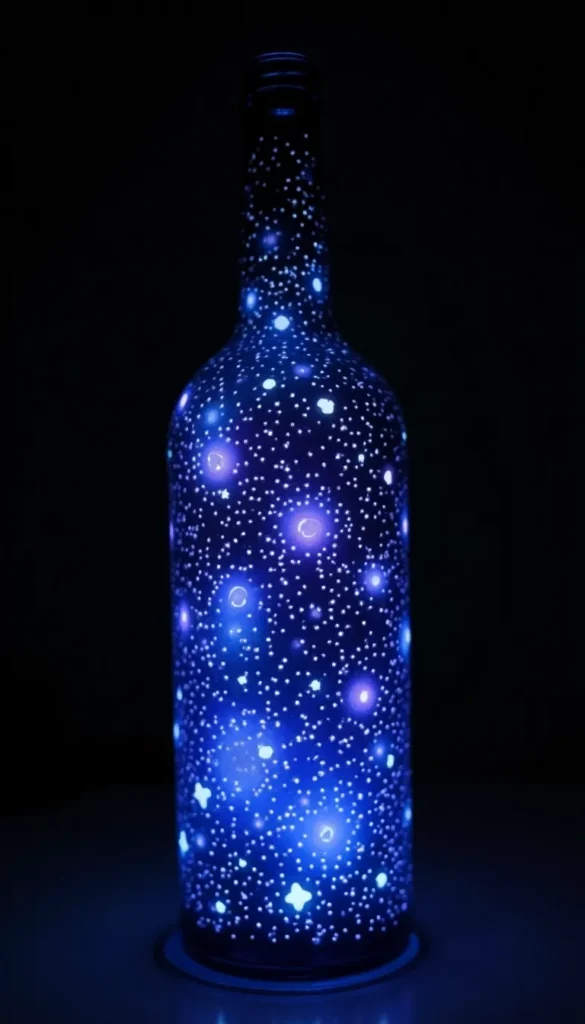
Bring the universe to your home with this cosmic creation!
This DIY turns a plain glass bottle into a galaxy masterpiece with deep blues, purples, and twinkling stars.
What You’ll Need:
✔ Glass bottle
✔ Acrylic paints (dark blue, purple, black, white)
✔ Sponge for blending
✔ Glow-in-the-dark paint (optional)
Instructions:
1️⃣ Paint the base – Start with black acrylic paint.
2️⃣ Sponge on colors – Dab dark blue, then purple, blending as you go.
3️⃣ Add stars – Use a toothbrush to flick tiny white paint specks.
4️⃣ Glow-up – Highlight sections with glow-in-the-dark paint for an extra effect!
5. Pearl-Embellished Sophistication 🏵️
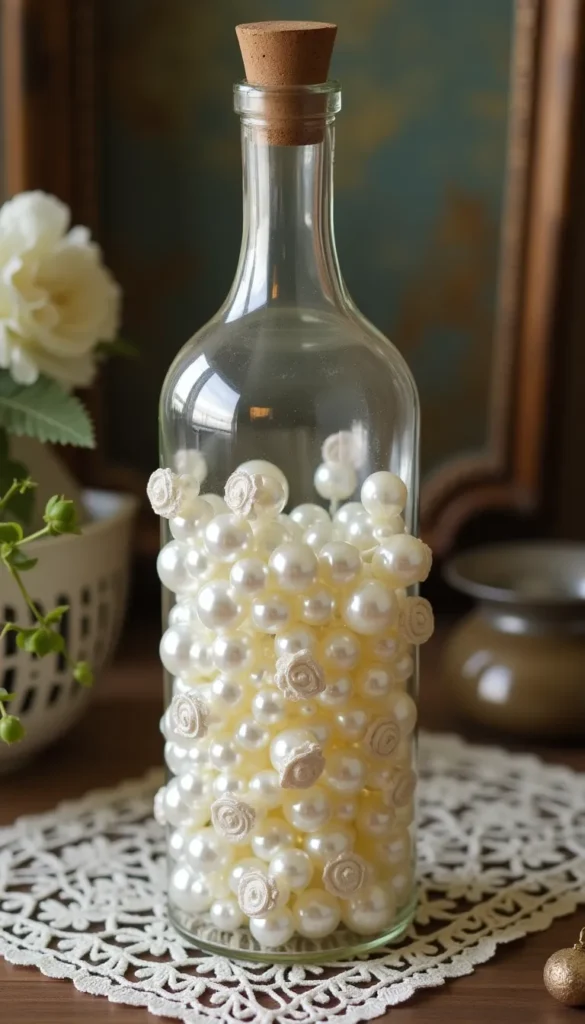
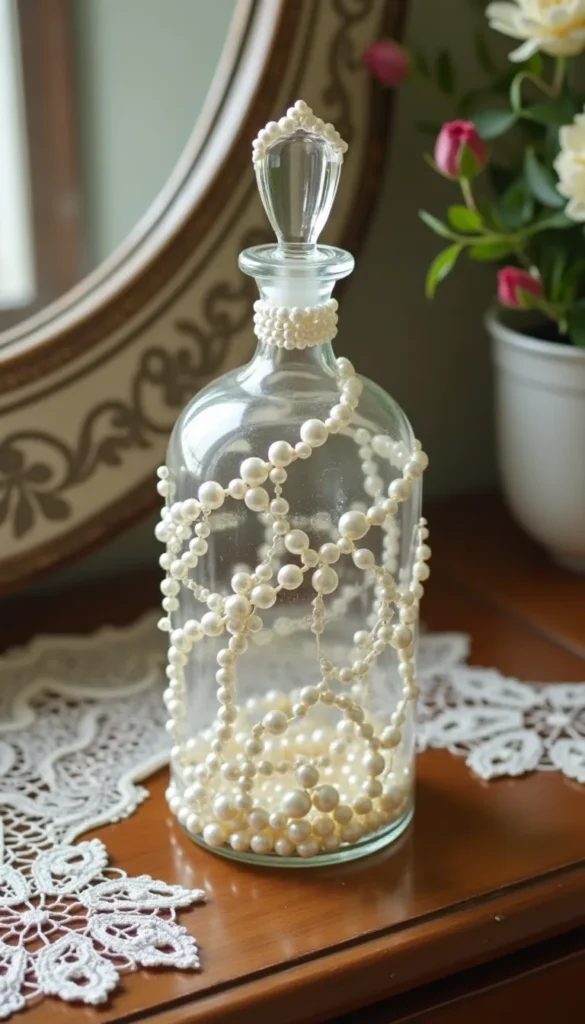
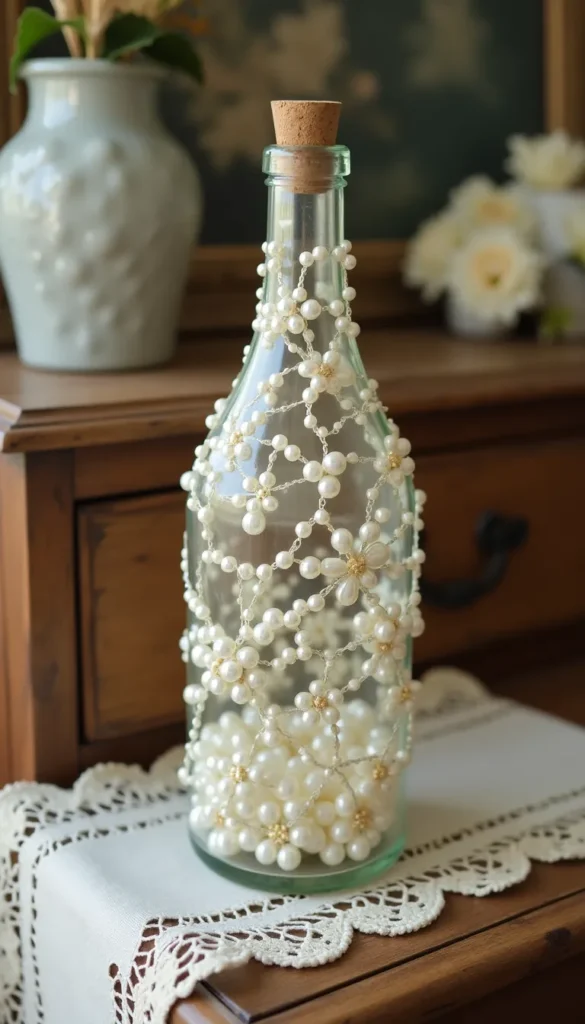
If vintage elegance is your vibe, this one’s for you.
Pearls add a classy, delicate touch to any bottle.
What You’ll Need:
✔ Glass bottle
✔ Faux pearls
✔ Strong adhesive
✔ Tweezers for placing small pearls
Instructions:
1️⃣ Plan your pearl layout – Cover fully or create elegant swirls.
2️⃣ Apply glue in sections – Work in small areas so the glue doesn’t dry too fast.
3️⃣ Press pearls in place – Use tweezers for precise application.
4️⃣ Let dry overnight – For best results, leave it undisturbed.
6. Mirror Mosaic Masterpiece 🪞
Because who doesn’t love a little reflection?
This DIY turns your bottle into a mini disco ball using mirror mosaic tiles.
What You’ll Need:
✔ Glass bottle
✔ Small mirror fragments
✔ Strong glue
✔ Protective gloves
Instructions:
1️⃣ Wear gloves – Safety first, because broken mirrors are sharp!
2️⃣ Apply glue – Add adhesive in small sections.
3️⃣ Press mirror pieces on – Arrange them like a mosaic pattern.
4️⃣ Let dry & seal – Wait 24 hours before handling.
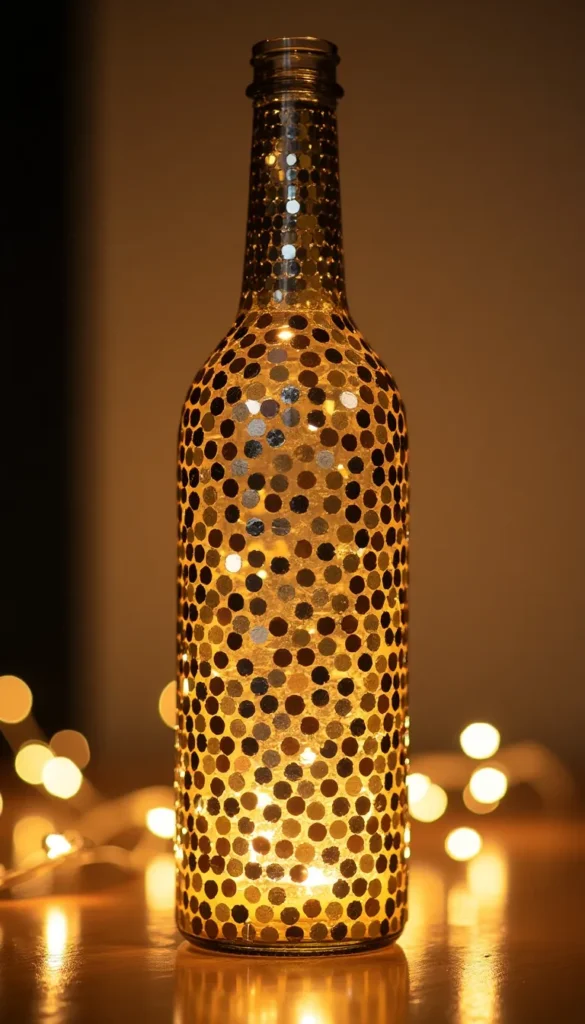
7. Sequin Sensation ✨

All the glitz, none of the mess (okay, maybe a little mess).
This is for those who want maximum sparkle with minimum effort.
What You’ll Need:
✔ Glass bottle
✔ Sequins
✔ Fabric glue or Mod Podge
✔ Small brush
Instructions:
1️⃣ Brush glue onto the bottle – Start from the top and work down.
2️⃣ Sprinkle sequins – Cover the bottle entirely.
3️⃣ Press lightly – Ensure they stick well.
4️⃣ Let dry & seal – Use a Mod Podge layer to prevent flaking.
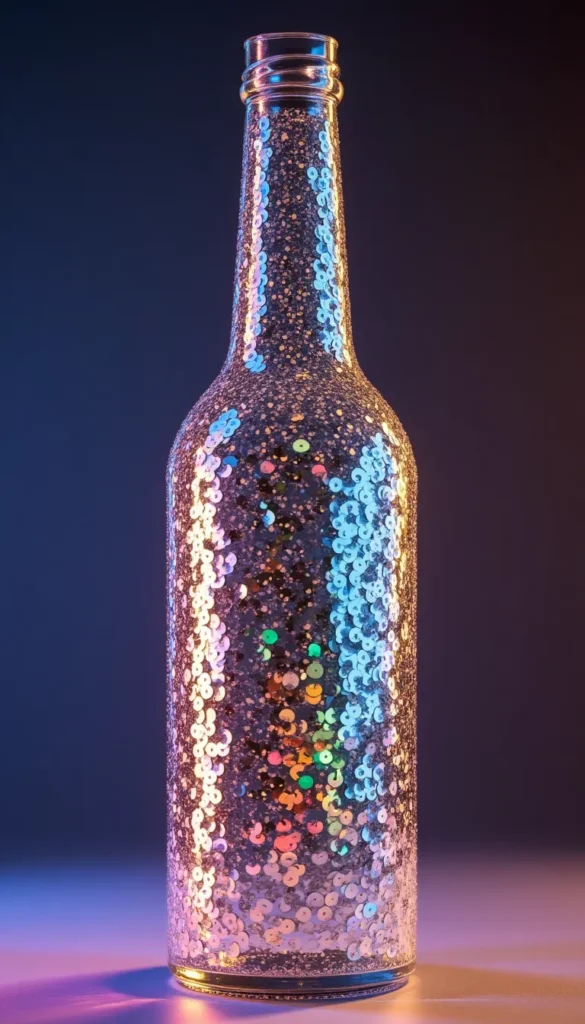
8. Holographic Foil Fantasy 🌠
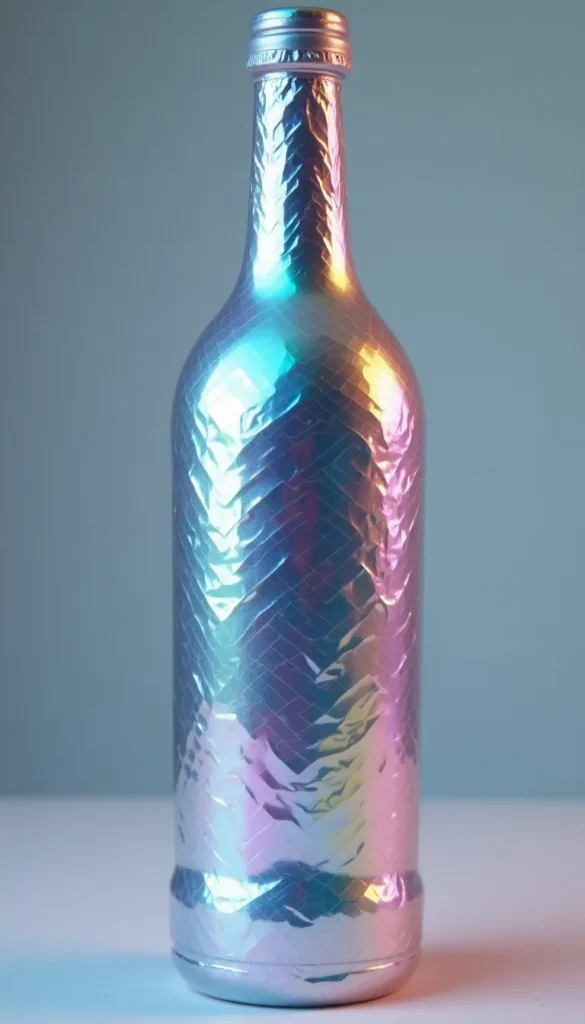
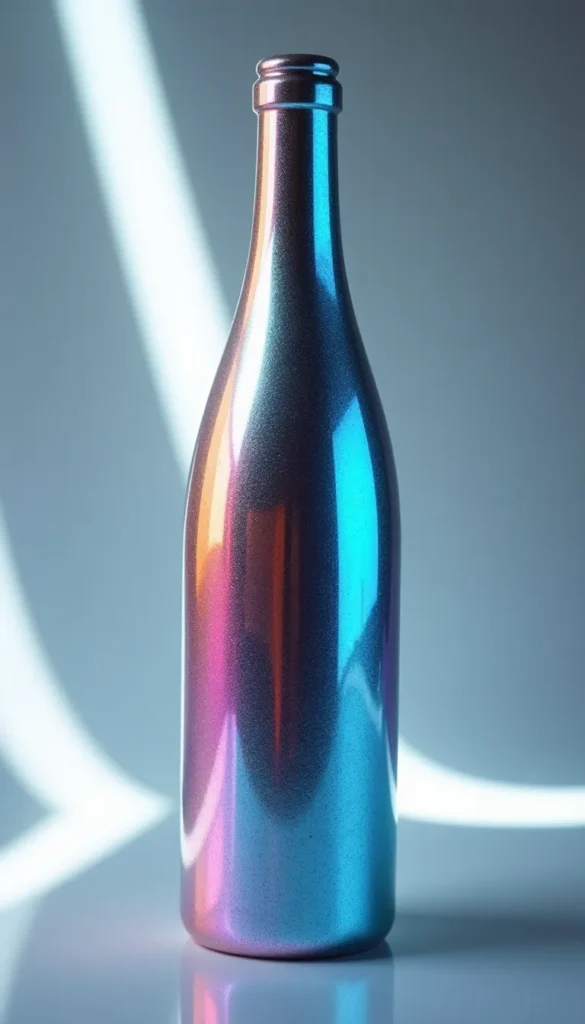
Shiny, futuristic, and totally mesmerizing.
What You’ll Need:
✔ Glass bottle
✔ Holographic foil sheets
✔ Adhesive spray
✔ Clear sealant
Instructions:
1️⃣ Spray adhesive evenly – Work in sections.
2️⃣ Press holographic foil onto the bottle – Smooth it out with your fingers.
3️⃣ Peel back slowly – The foil should stick perfectly.
4️⃣ Seal for long-lasting shine – Use a clear gloss spray.
9. Fairy Light Enchantment ✨
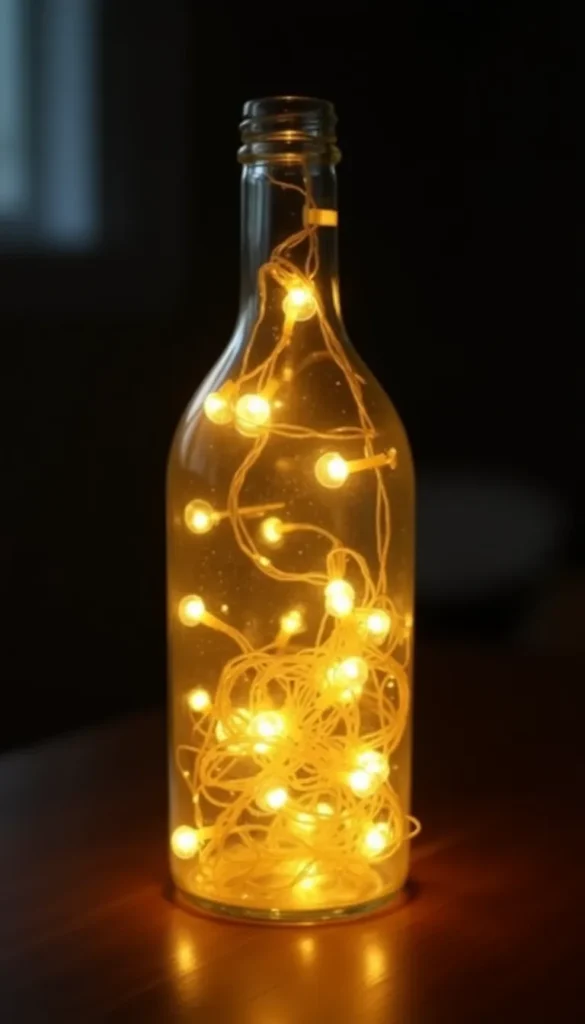
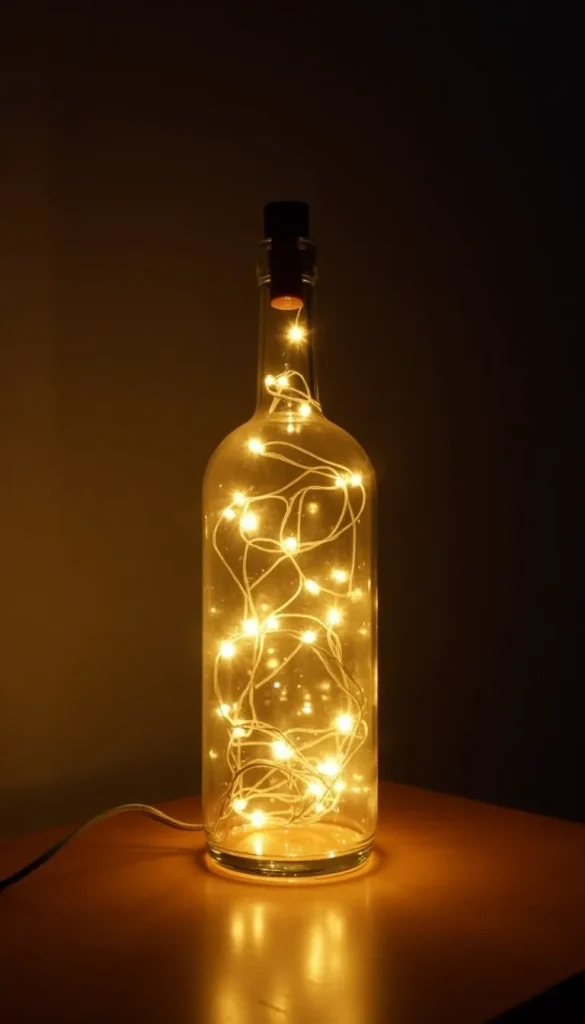
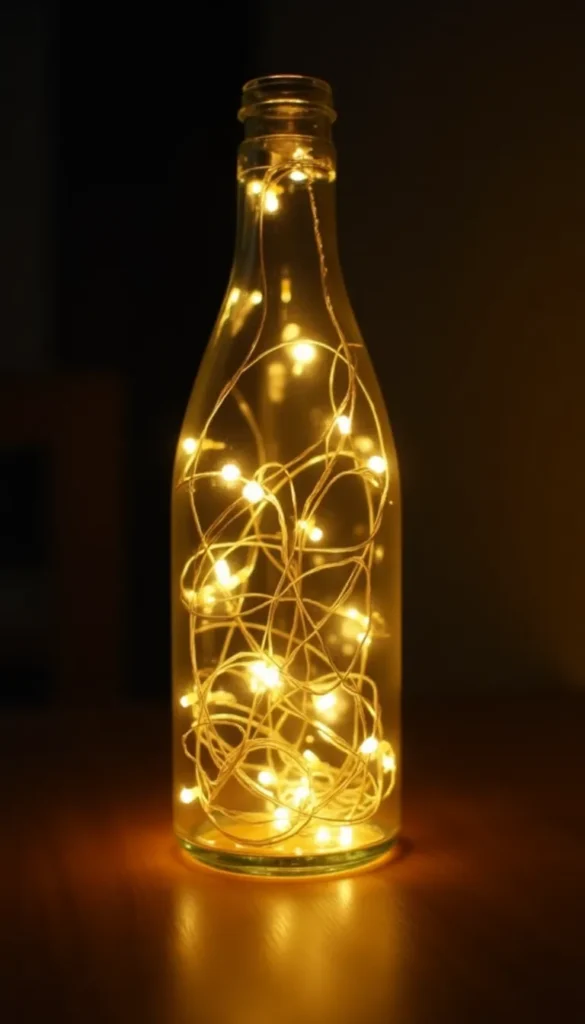
A glowing bottle that brings all the cozy vibes.
What You’ll Need:
✔ Glass bottle
✔ Battery-powered fairy lights
Instructions:
1️⃣ Insert fairy lights into the bottle – Arrange them for even lighting.
2️⃣ Turn on & enjoy – That’s literally it!
10. Personalized Glitter Quote Bottle 🖋️
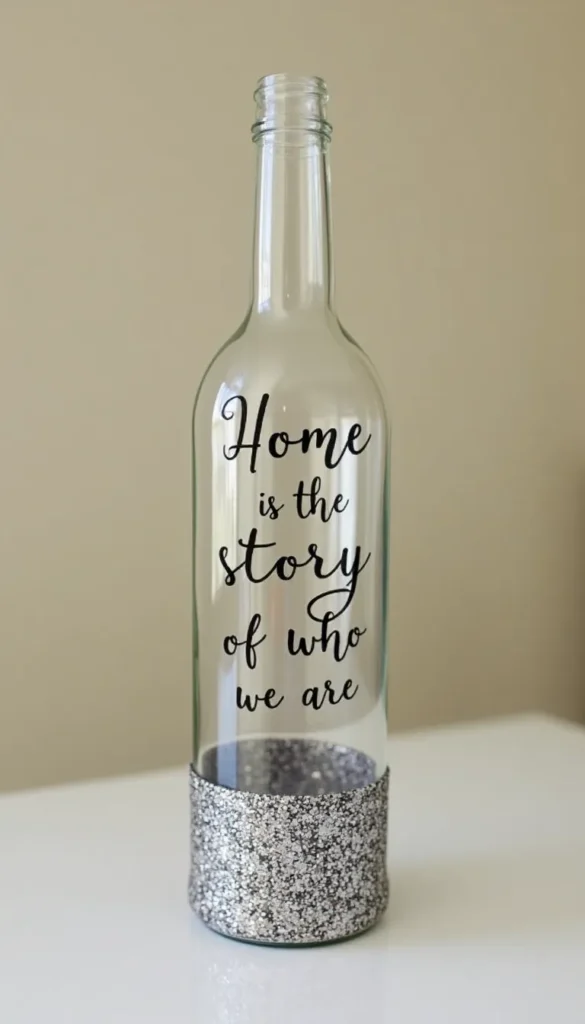
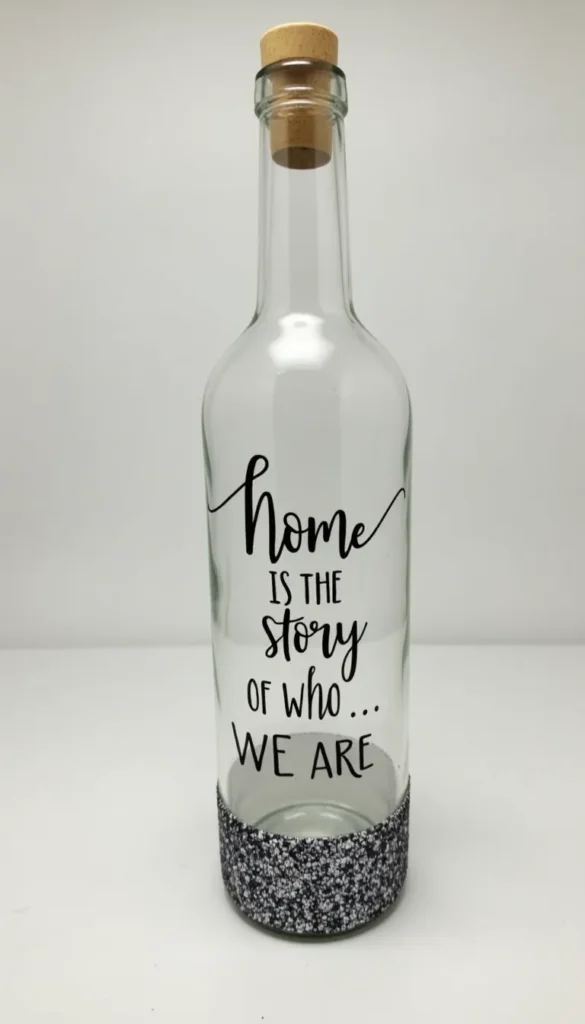
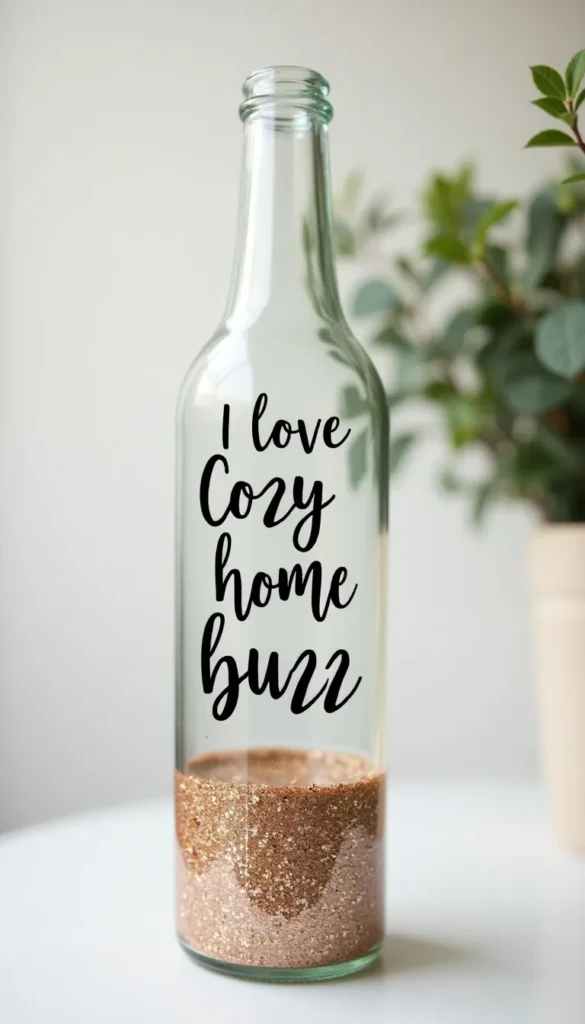
Add a little sparkle and inspiration.
What You’ll Need:
✔ Glass bottle
✔ Fine glitter
✔ Paint pen or adhesive vinyl letters
Instructions:
1️⃣ Glitter the bottle – Use the “glitter-dipped” technique from earlier.
2️⃣ Write or stick on your quote – Keep it short & bold.
3️⃣ Seal everything – To keep it looking fresh.
So, which DIY are you trying first? Let me know—I’d love to hear how your creations turn out!